Fall is a great time to bring seasonal themes into the art room—but I still want my projects to teach real art skills.
These two middle school art projects use fall and Halloween themes while building skills in line, optical illusion, depth, one-point perspective, composition, and collaboration. Both are designed for Grades 6–8 and can easily be adapted for different skill levels.
1. Spooky Hand Optical Illusion Art Project
This project takes the classic optical illusion hand drawing and gives it a Halloween twist. Students transform a simple hand into a spooky mummy or monster hand using curved lines, overlapping bandages, texture, line weight, and shading.
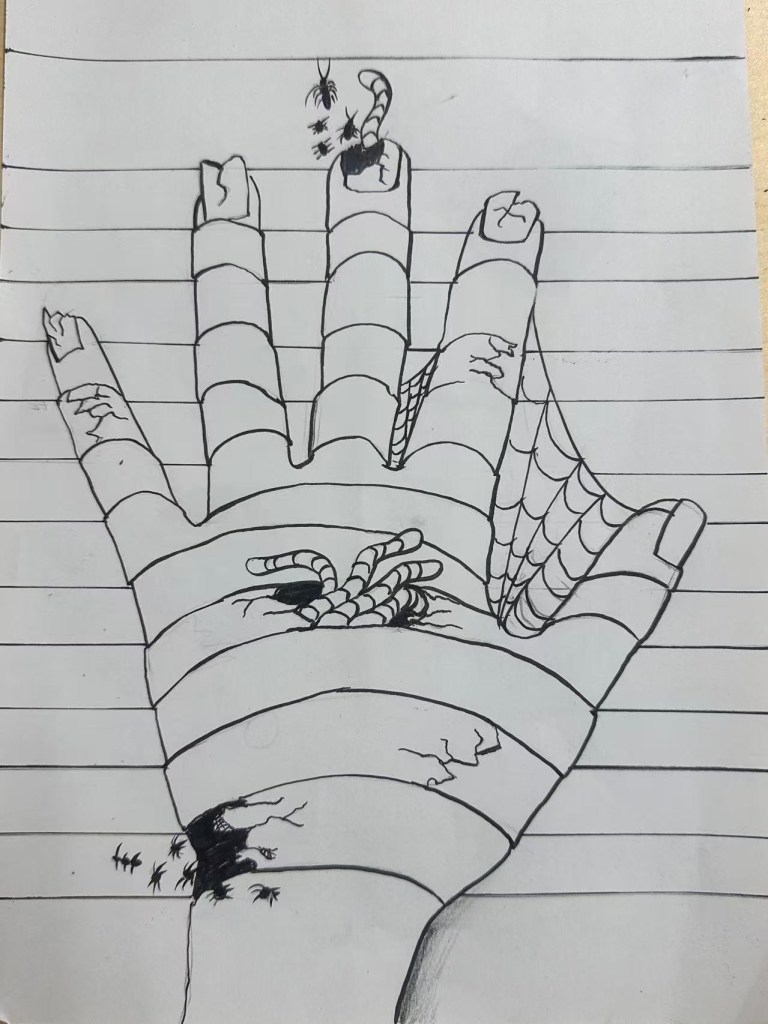
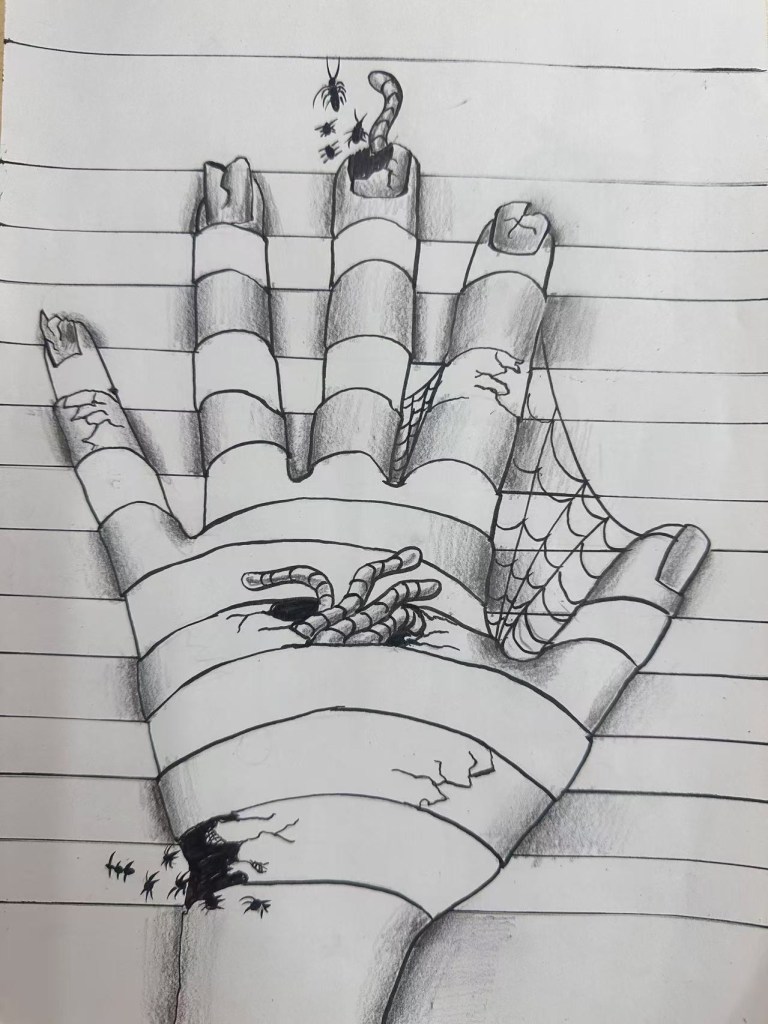
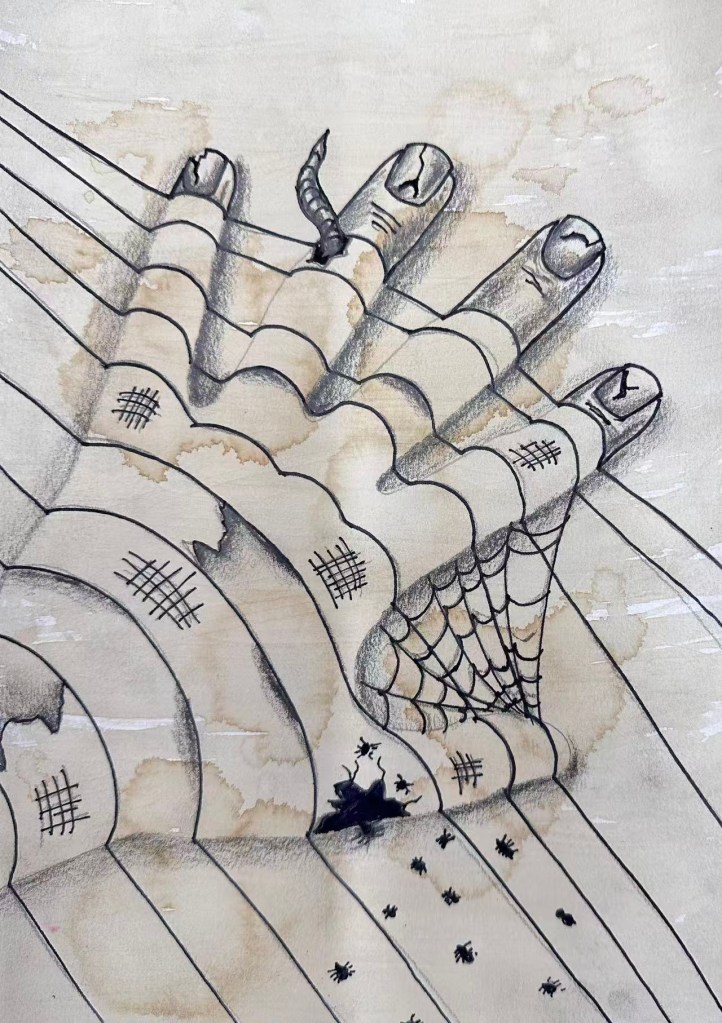
The finished artwork looks complicated, but the process is surprisingly manageable when broken into steps. All in all, I managed to teach each step with 3 lessons, about 45 minutes each.
Materials
- Drawing paper
- Pencil and eraser
- Black fineliner or marker
- Ruler
- Colored pencils or markers
- Optional: coffee or tea for staining paper
Lesson 1: Build the Optical Illusion
Students explore Op Art through the work of Bridget Riley and Victor Vasarely. I show them photos of their art work and together, we discuss the way lines create the illusion. In my lesson pack, I include a PPT to be used during the lessons.
At this stage, they create the basic hand illusion using straight lines outside the hand and curved lines across it. The focus is on understanding how these simple changes make a flat drawing appear three-dimensional.
Lesson 2: Turn It Into a Spooky Hand
Students transform their optical illusion into a mummy or monster hand by adding bandages, wrinkles, cracks, stitches, fingernails, and other spooky details. They experiment with overlapping lines, textures, and different line weights while keeping the original illusion intact. Students can keep their design simple or add more detail depending on their skill level.
Lesson 3: Shading, Texture & Final Details
Students add shading and texture to strengthen the illusion of form and depth. Darker areas between bandages and stronger contrast help make parts of the hand appear to overlap or lift from the page. An optional coffee-stained background can give the finished artwork an aged, creepy Halloween look.
2. One-Point Perspective Autumn Triptych
This collaborative project introduces students to one-point perspective through an autumn-themed environment. Students also look at Canaletto’s use of perspective and David Hockney’s photo joiners as two very different examples of artists exploring space, viewpoint, and how separate images can work together.
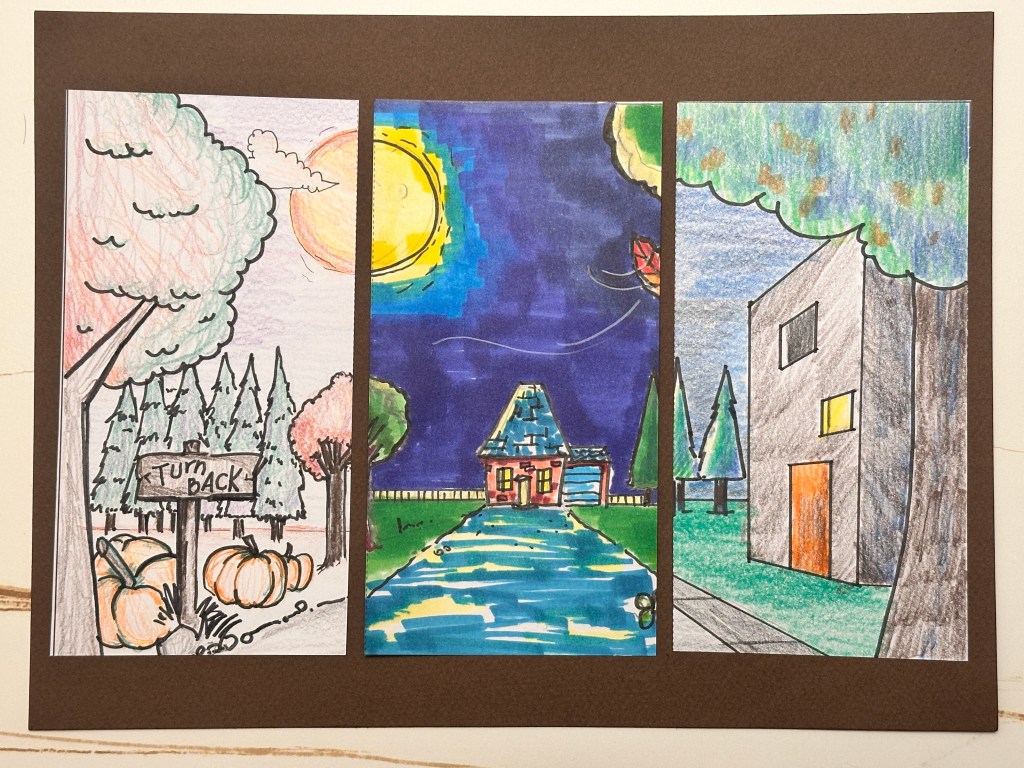
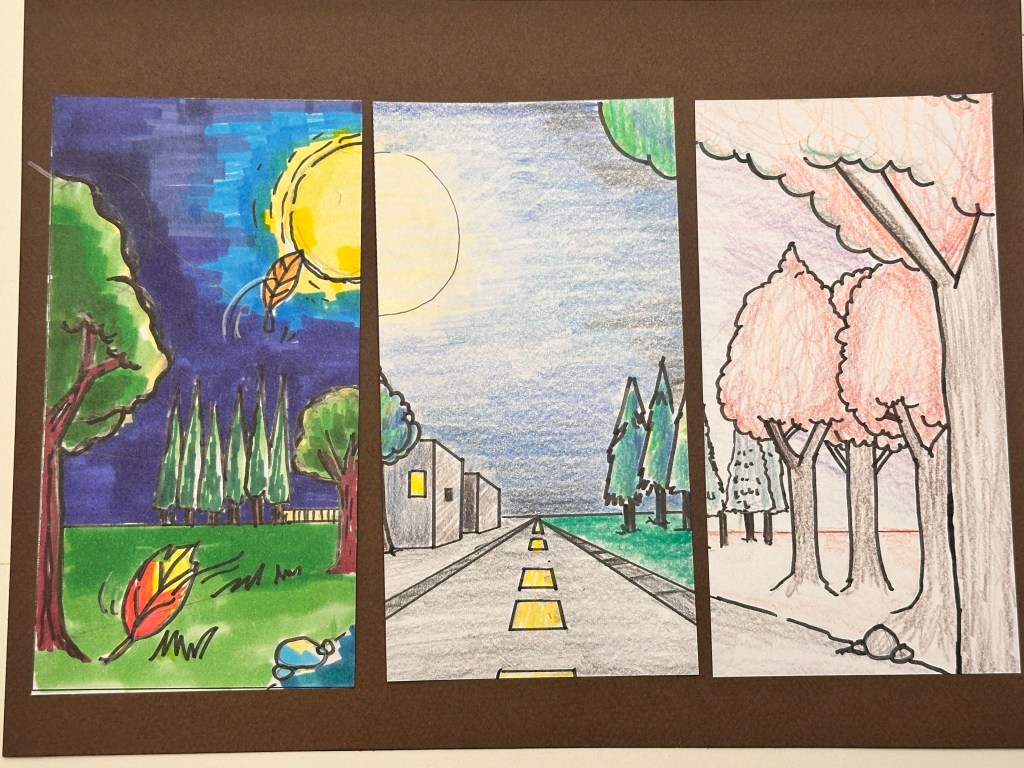
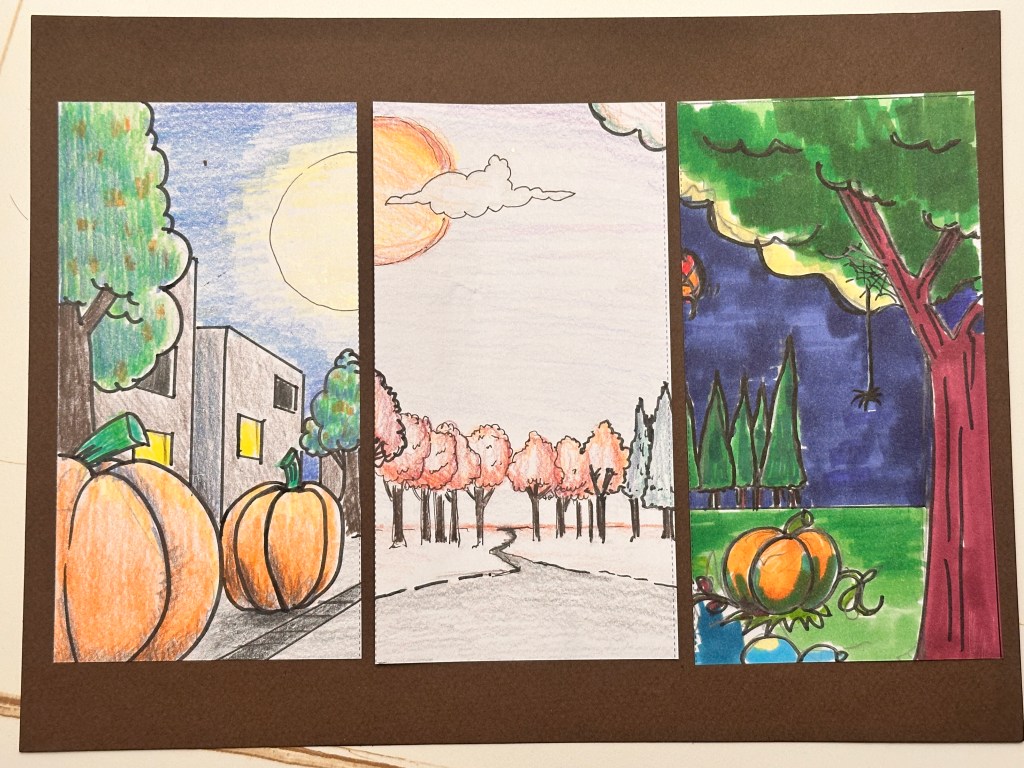
Working in groups of three, students create individual perspective drawings that connect to form one larger triptych. Groups can choose settings such as a spooky forest, fall park, pumpkin farm, or autumn town.
Materials
- Drawing paper
- Pencils and erasers
- Rulers
- Black fineliners or markers
- Colored pencils or markers
- Perspective practice sheets
- Planning paper
- Scissors
Lesson 1: One-Point Perspective Basics
Students learn the three main parts of one-point perspective: the horizon line, vanishing point, and orthogonal lines. They practice constructing simple shapes and objects using one vanishing point. This gives students the basic skills they need before creating their autumn environment.
Lesson 2: Creating Distance
Students explore how size, placement, overlapping, and perspective can make objects appear closer or farther away. They practice adding objects such as trees, signs, lamps, buildings, pathways, boxes, or pumpkins to a perspective scene. The focus is on making the environment feel like it extends into the distance.
Lesson 3: Plan the Autumn Triptych
Students form groups of three and choose an autumn setting for their collaborative artwork. Together, they decide on a shared horizon line, vanishing point, composition, and which objects will cross between panels. They sketch one shared triptych plan before beginning their individual drawings.
Lesson 4: Create, Combine & Reflect
Each student creates one section of the triptych while following the group’s shared plan. When the three panels are placed together, roads, buildings, trees, fences, or other objects should visually connect across the artworks. Students finish by reflecting on their use of perspective and how successfully their individual pieces work together.
Ready-to-Teach Versions
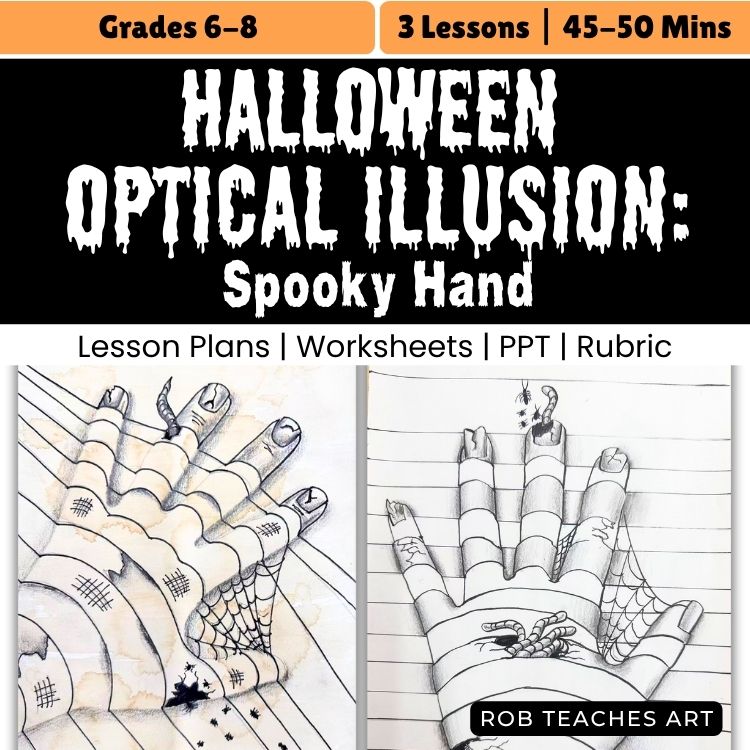
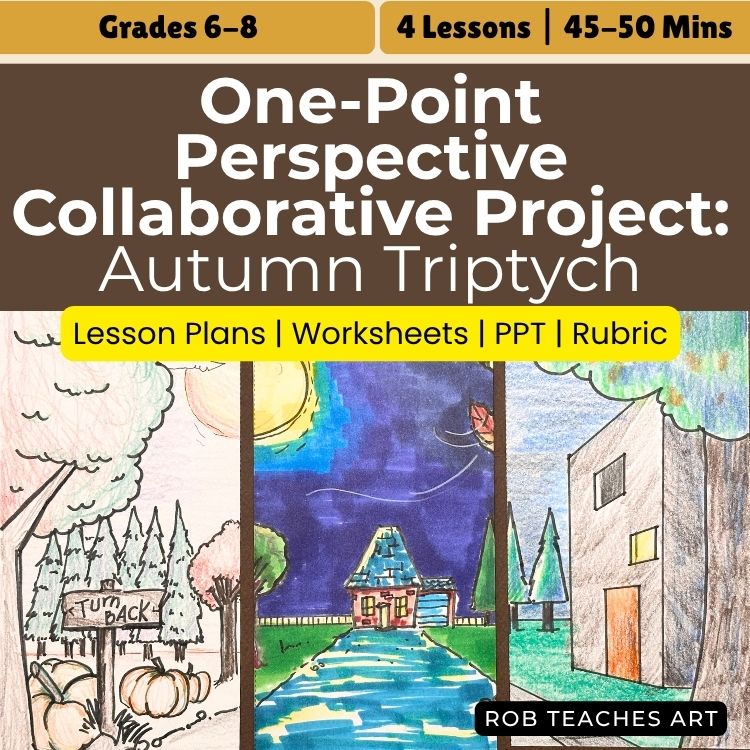
I’ve turned both projects into complete classroom resources for my Rob Teaches Art Teachers Pay Teachers store, including presentations, worksheets, lesson plans, and assessment materials.
You can find them here:
Happy teaching!


Leave a comment