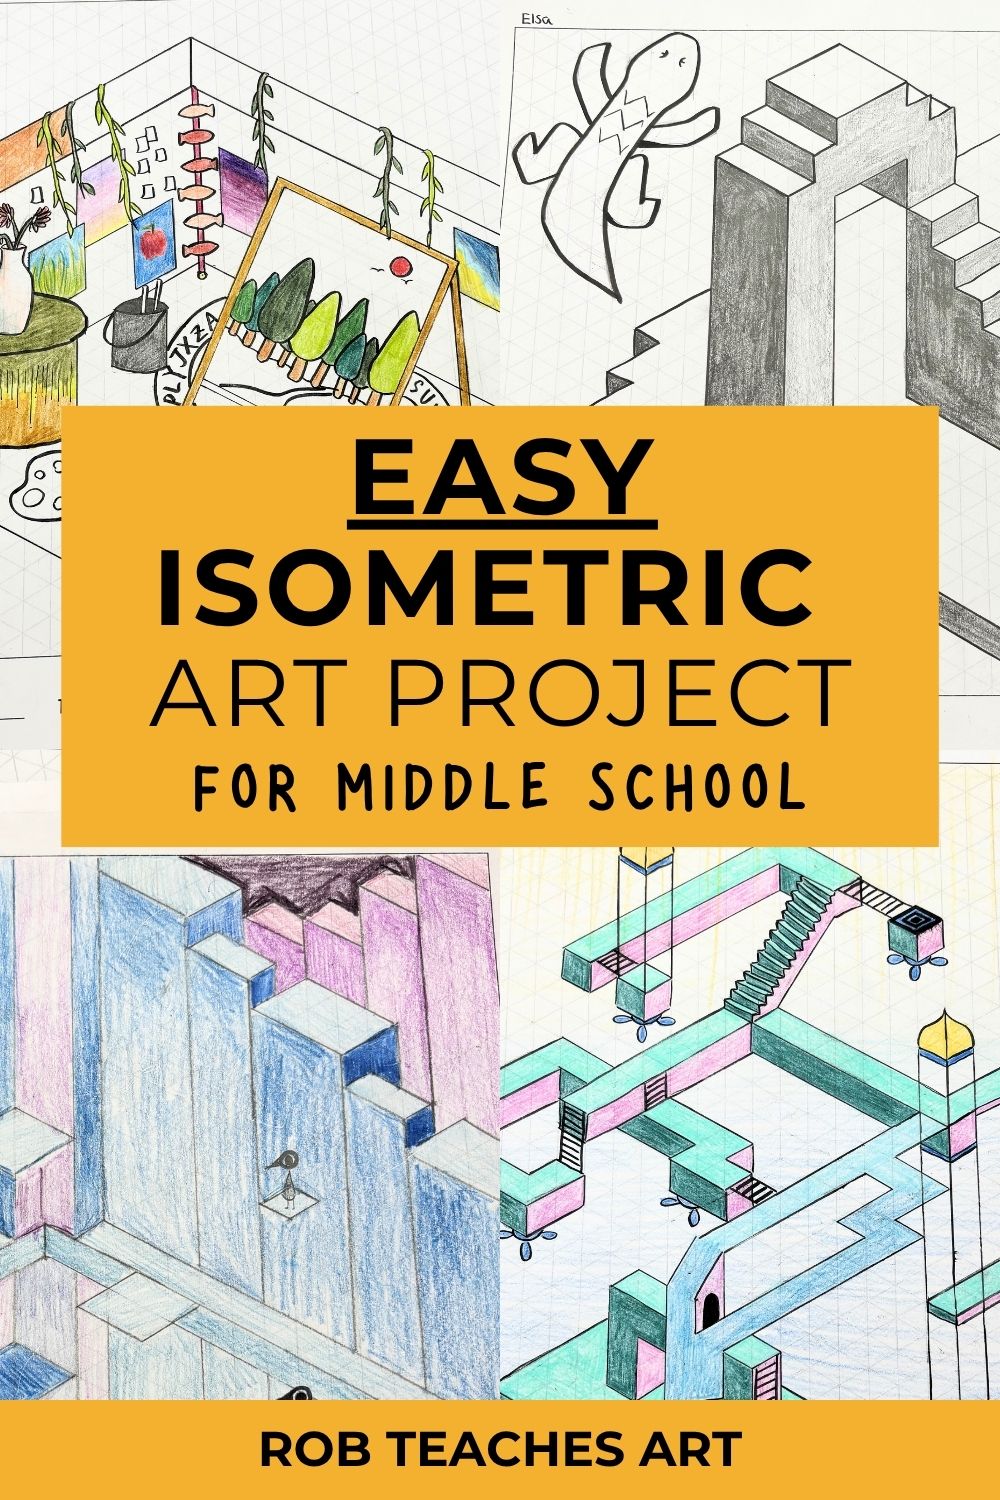
When I introduced isometric drawing to middle school students, they were intrigued.
Though at first, most students think isometric drawing looks too technical.
“Mr. Rob, it looks difficult.”
It looked too mathematical and that it requires precision. But I’ve learned over the years that middle school students love structured drawing once they realize they can actually succeed at it.
That’s why I built this unit the way I did — heavily scaffolded, step-by-step, and focused on honing their skills before engaging in the final project.
These are two 45-50minute lessons per week, for 6 weeks. That’s 12 lessons in one project.
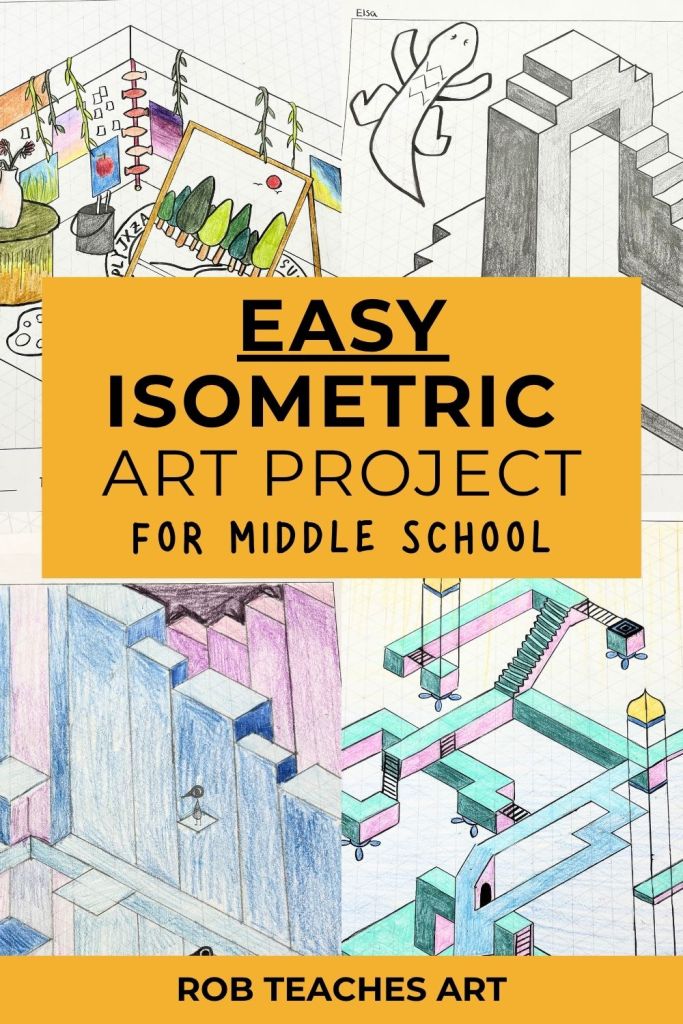
Instead of throwing students straight into a giant cityscape, we spend six weeks slowly building confidence through guided exercises, artist studies, planning pages, and mini-projects that make the final artwork feel achievable.
Middle School Art Project Overview
Students will learn that almost everything is made from cubes, angles, stacking, and line control. Once they understand the structure, they start experimenting on their own. Some students turn their designs into floating cities. Others make gaming-inspired worlds, futuristic buildings, or tiny restaurants and neighborhoods.
This unit was also designed around project-based learning, but every worksheet can work as a standalone middle school art lesson too.
So if you only want a one-week perspective lesson or a quick spatial drawing activity, you can still pull pieces from the unit without teaching the entire thing.
Note: This page contains affiliate links. I may earn a small commission from qualifying purchases at no extra cost to you.
Materials You’ll Need
One thing I like about this project is that it looks advanced, but the supply list is actually pretty simple. Most middle school classrooms already have the basics. Besides the worksheets, which you can find here, you really only need the basics.
Here are my recommendations:
- Graphite pencils: Faber-Castell Pencils, 12 pack (HB)
- Mechanical pencils (optional): BIC Xtra-Sparkle Number 2 Mechanical Pencils
- White erasers: Pentel Hi-Polymer Erasers
- Clear rulers: Pen+Gear 12-inch Clear Plastic Ruler
- Colored pencils: Crayola Colored Pencil Set or Prismacolor Scholar
- Fine liners / black pens: Sakura Pigma Micron Fineliner Pens
- Fine tip markers: Crayola Super Tips
- Drawing paper: Strathmore 300 Series Drawing Pad
- Printer paper for drafts: HP Printer Paper
- Isometric grid paper: Koala Wide-Angle Isometric Grid Sketchbook (No need for this if you have my printable)
Week 1: Teaching Students to Think in 3D
The first week is all about helping students understand that isometric drawing is really just learning how to see shapes differently.
We start with a worksheet called “This Is Not a Square.” The goal isn’t perfection yet. I actually tell students that messy attempts are expected during this stage.
That tends to lower the panic level immediately.
Students practice turning flat shapes into forms using isometric angles. Then we move into “Build the Perfect Cube,” where they focus on line control and constructing accurate cubes.
What I like about this stage is that students begin understanding that precision matters — but they also start seeing quick success. Even reluctant artists can usually produce a convincing cube after enough guided repetition.
This is also when I start displaying sample student work around the classroom.
Week 2: Stacking, Shadows, and the “Minecraft Phase”
By Week 2, students start combining cubes into structures.
This lesson always reminds students of Minecraft.
Students naturally start thinking in modular systems — stacking, building, extending, removing lines, and creating forms from simple blocks.
We use the “Stack It” worksheet first, where students focus on overlapping and construction. Then we move into “Stack It 2: Light & Shadow,” which becomes the first formative assessment.
This is where students can get creative.
Students begin understanding:
- light sources,
- tonal value,
- depth,
- and visual hierarchy.
This is where weaker drawings can suddenly improve dramatically.
Week 3: Turning Names Into Cities
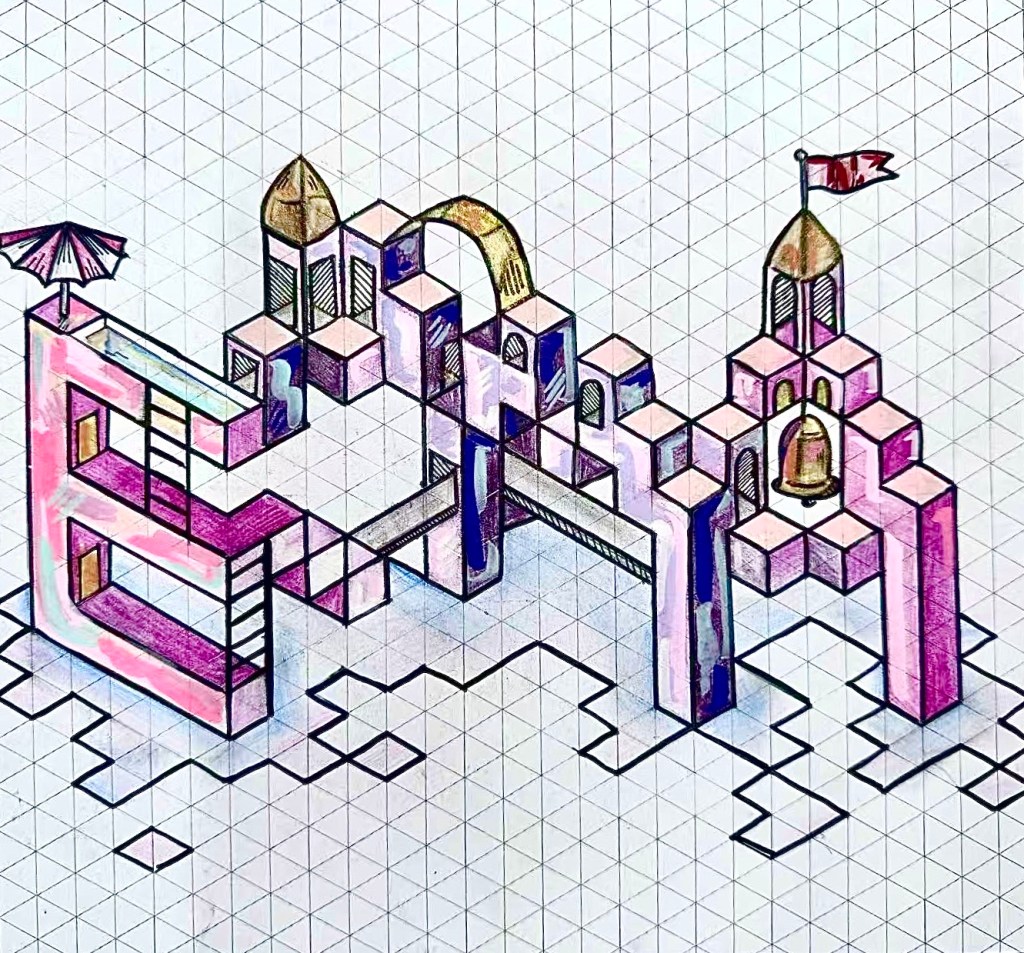
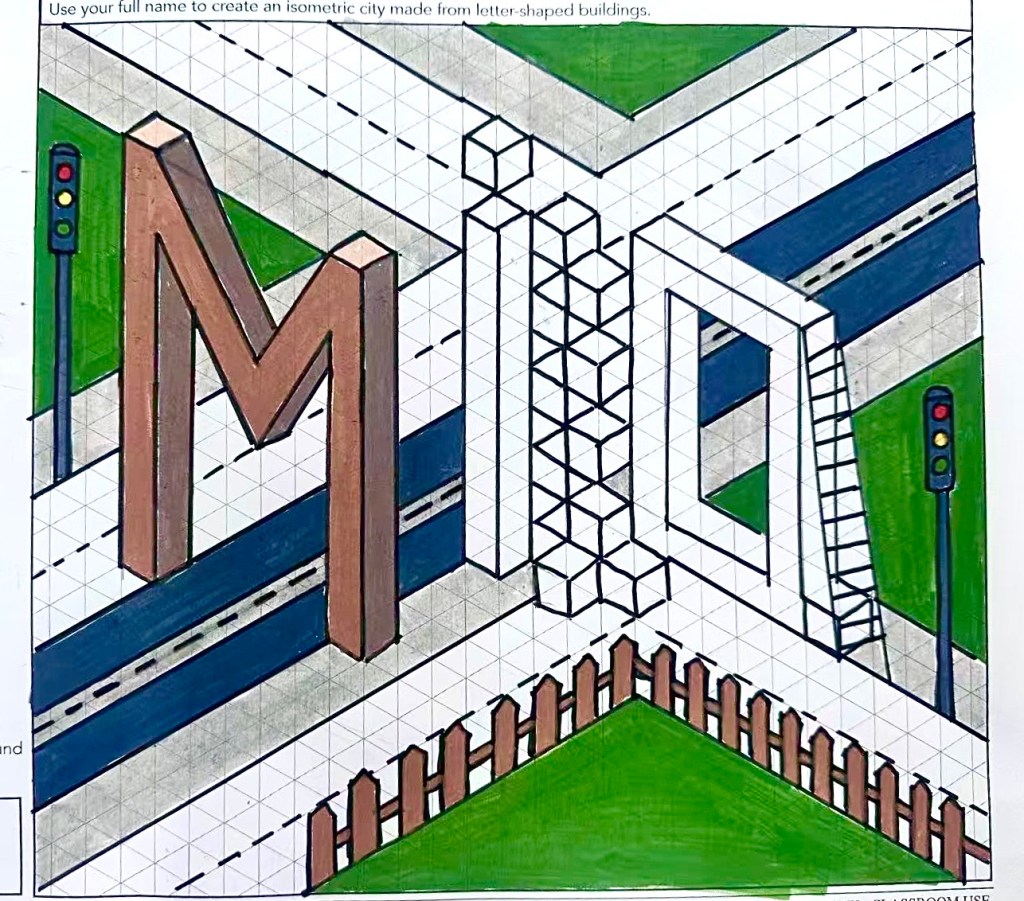
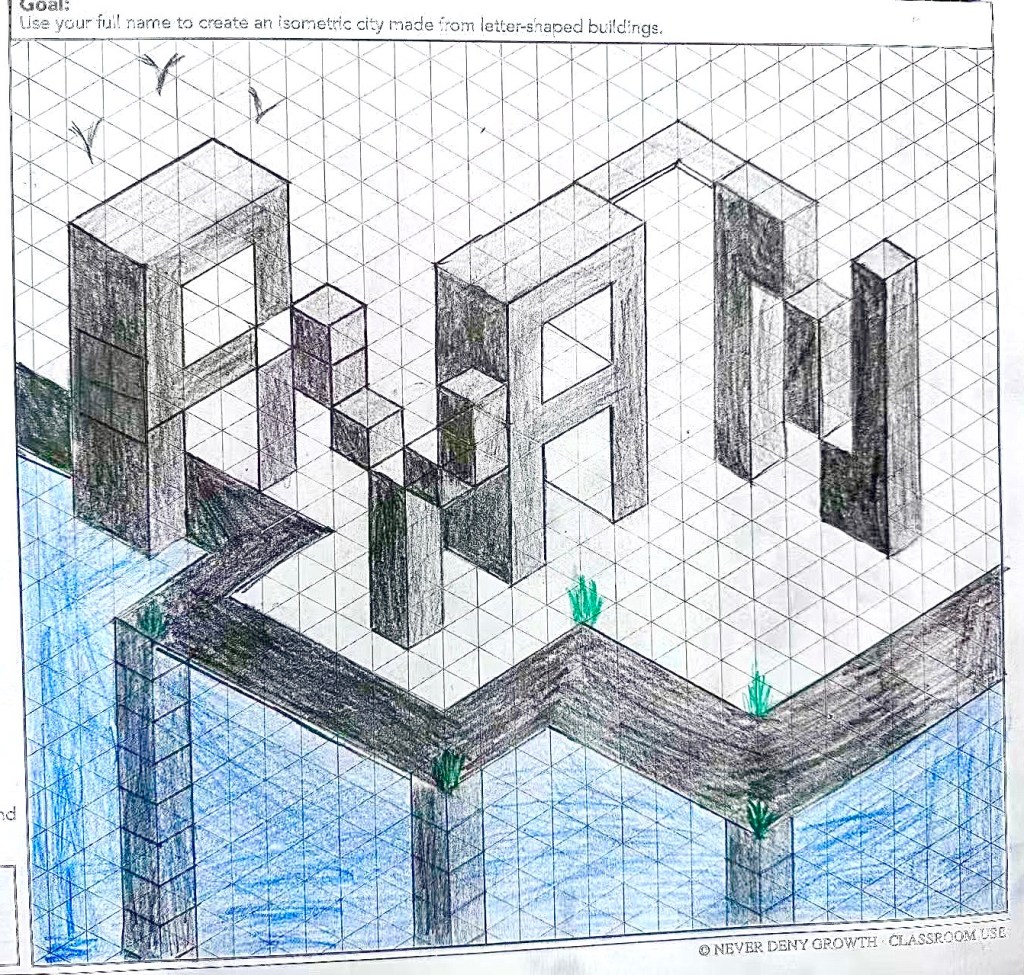
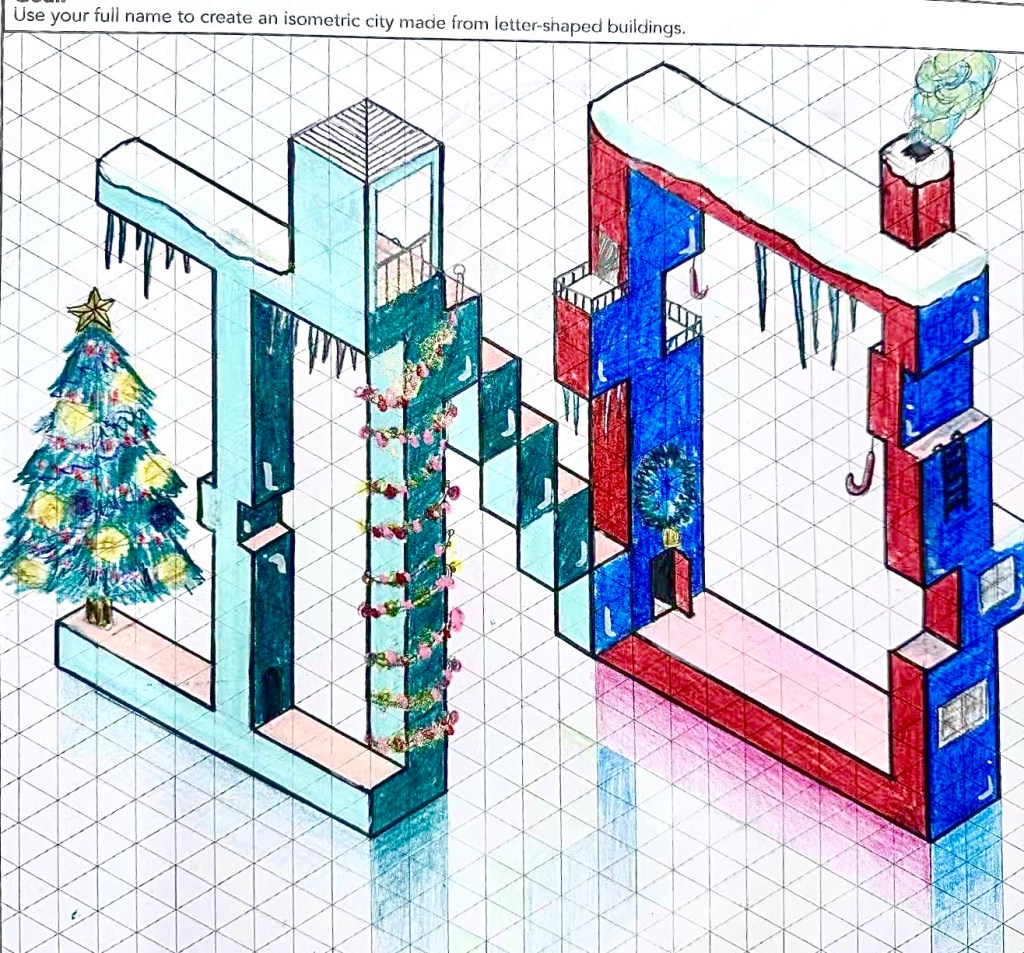
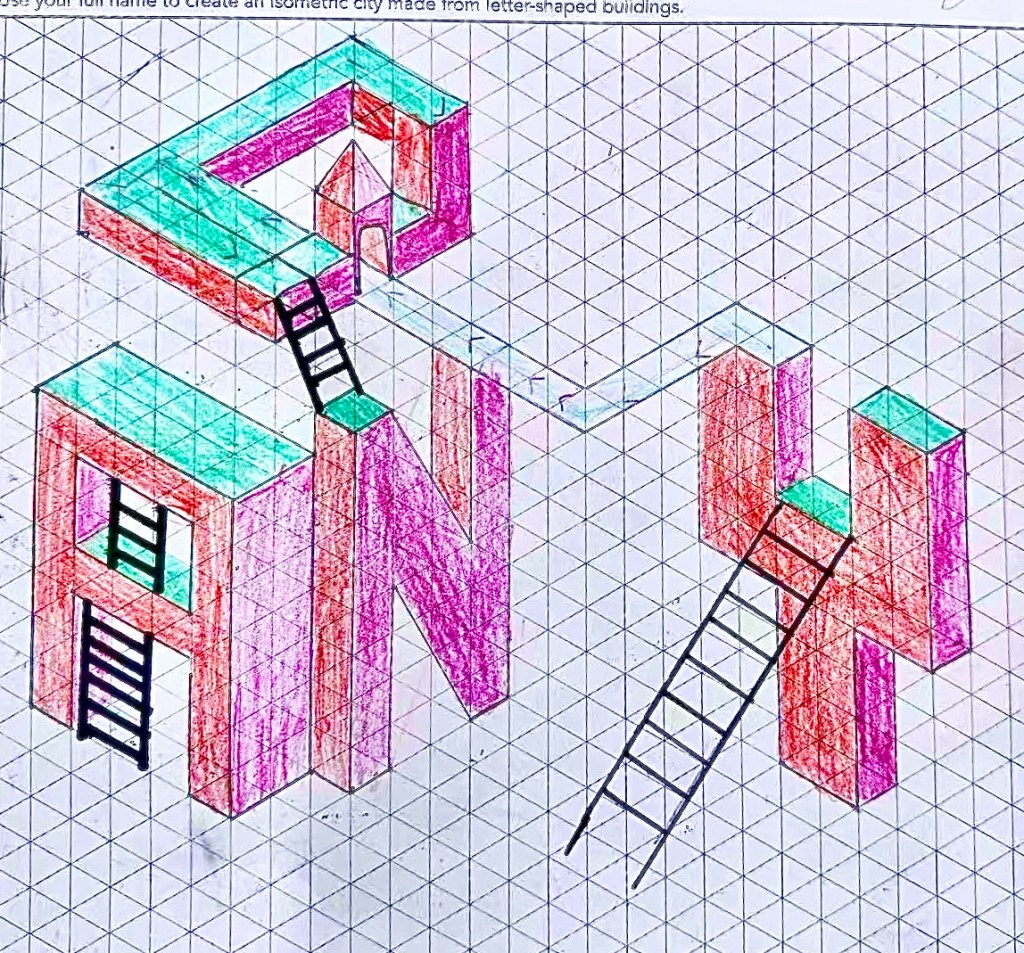
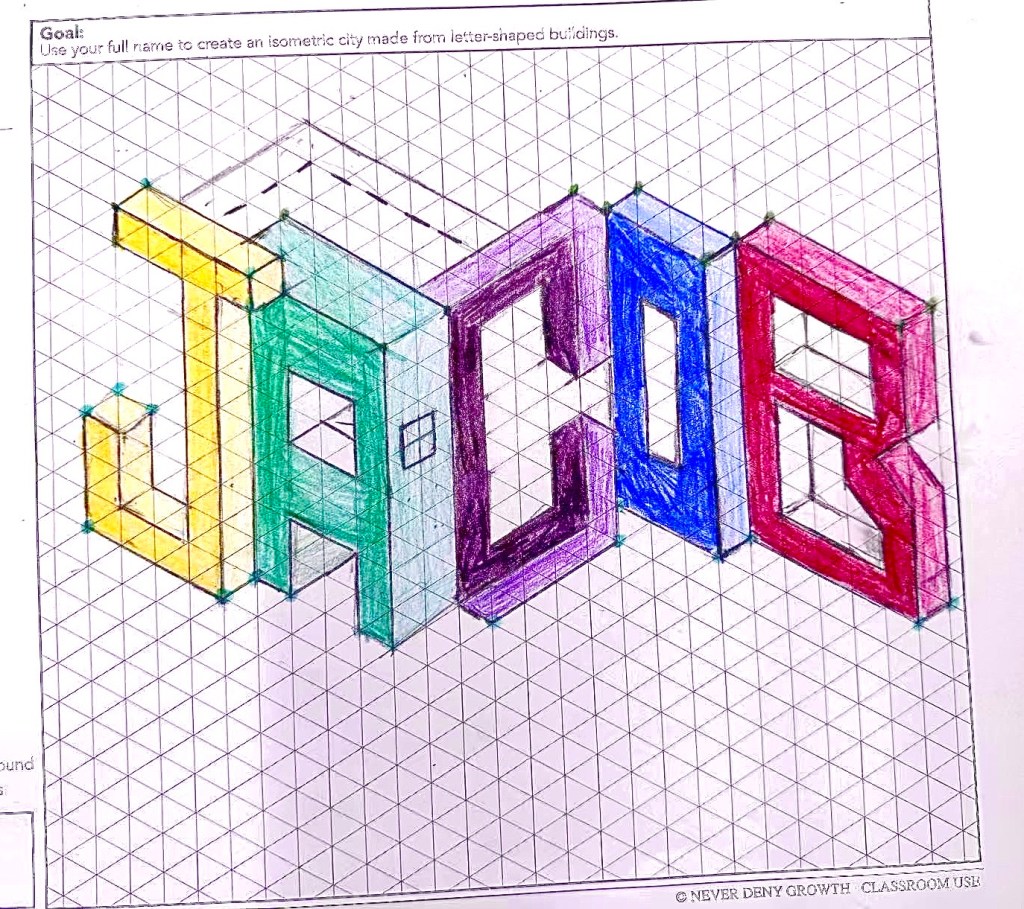
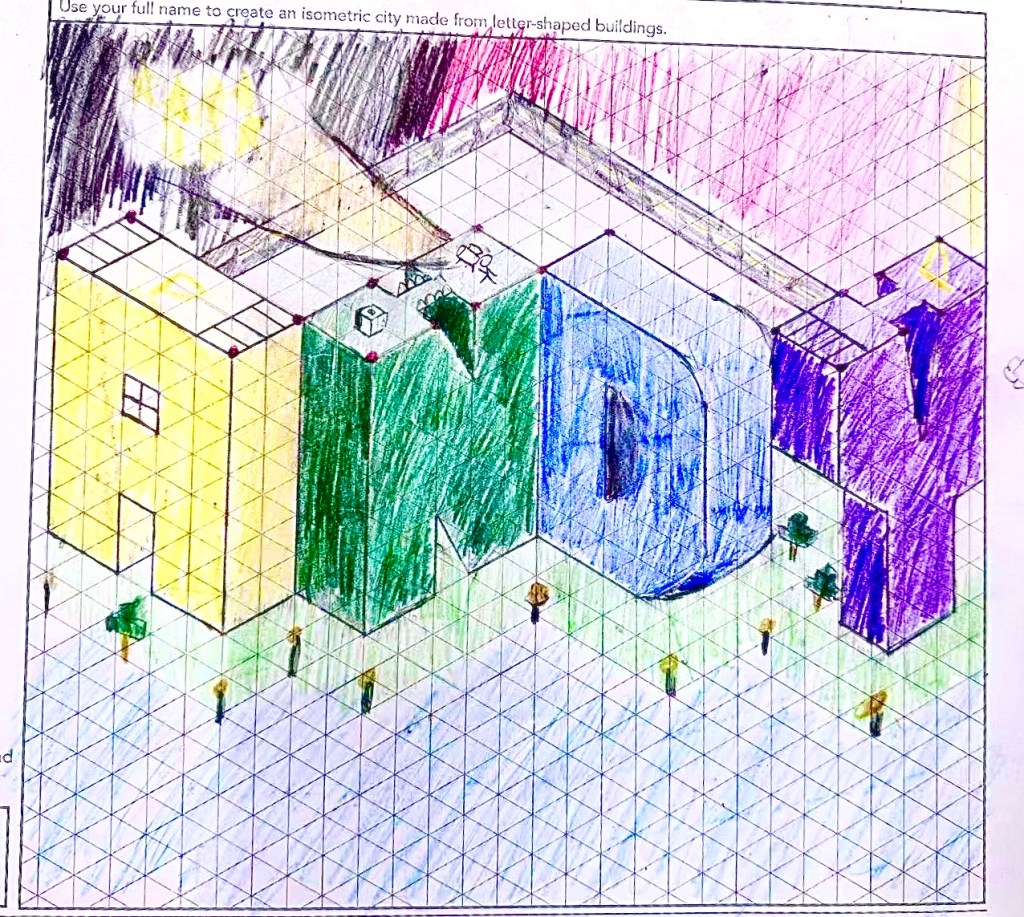
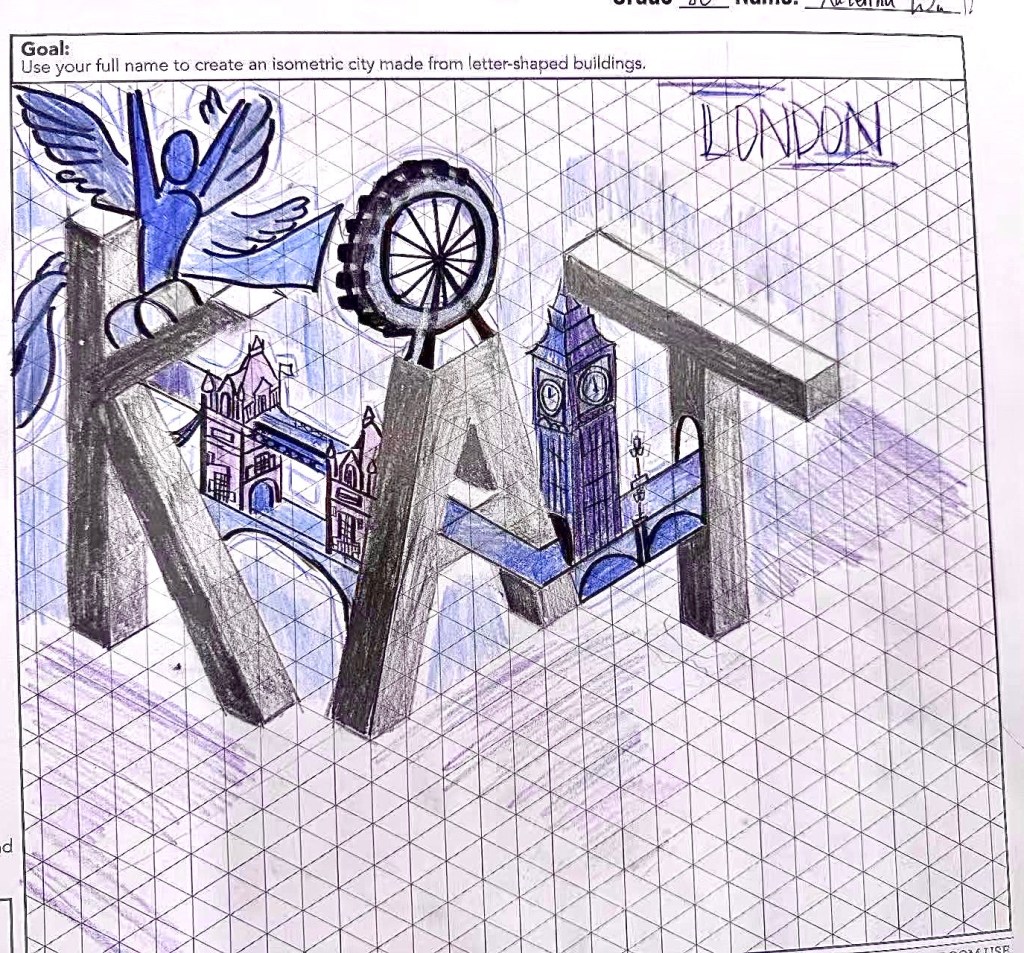
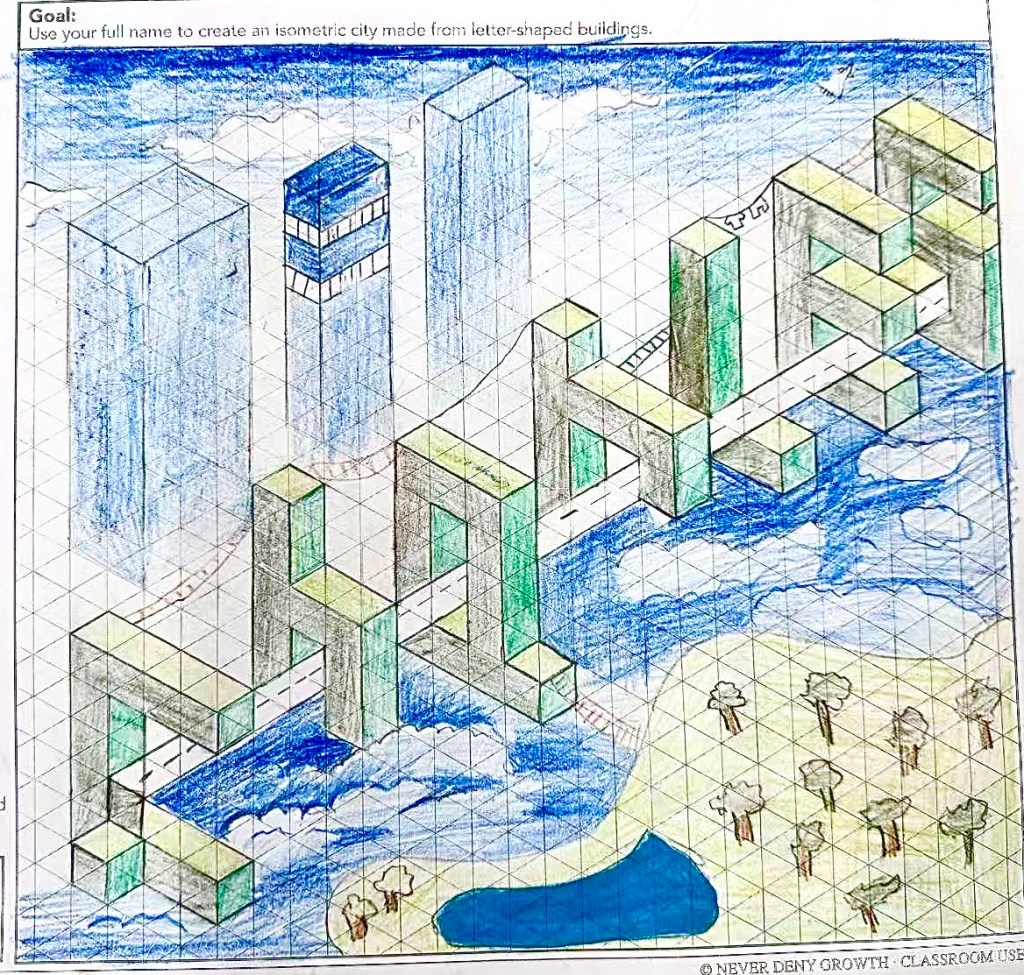
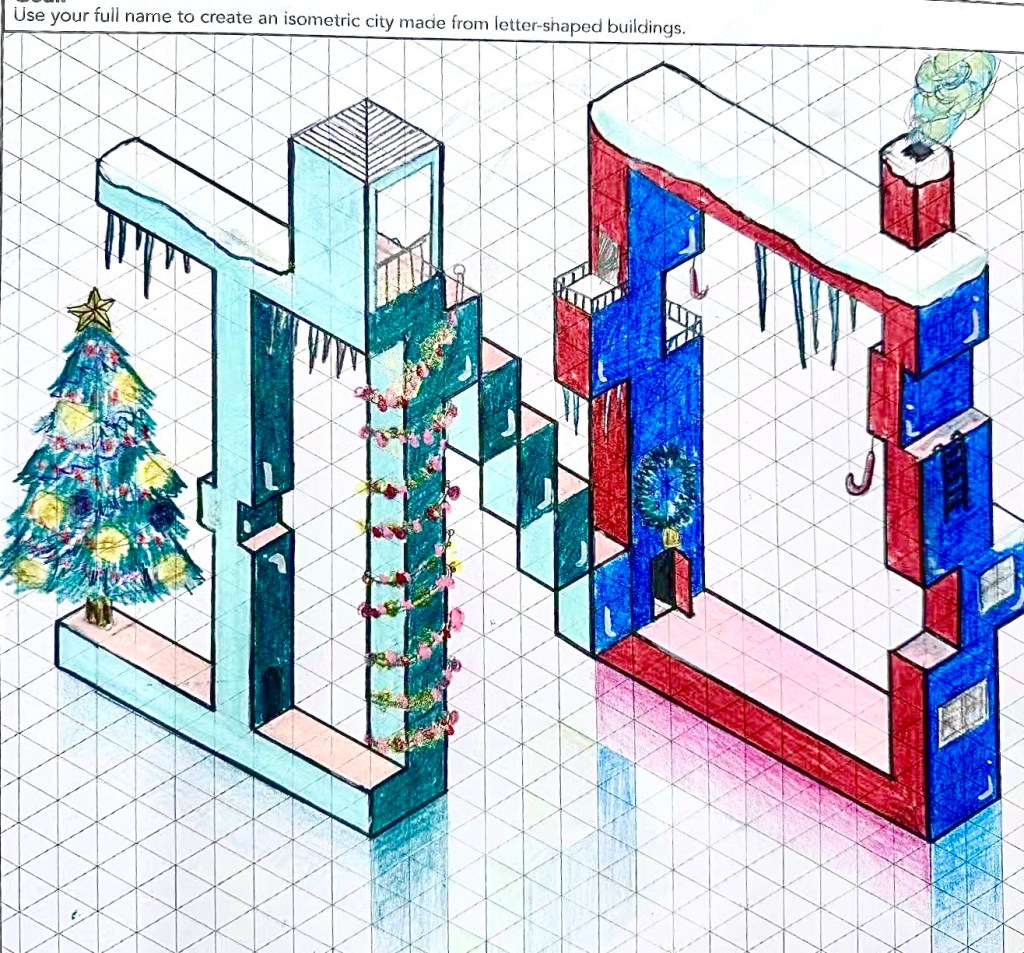
Instead of practicing random shapes, students start transforming their own names into isometric structures using the “Isometric Letter Practice” and “My Name as a City” activities.
This lesson works so well because students suddenly have ownership over the artwork.
Some students turn letters into apartment buildings. Others add windows, roads, rooftop gardens, or tiny staircases. It’s important to go around and guide students accordingly.
This stage also helps students understand how professional designers and illustrators use structure creatively instead of mechanically.
Here are some of my students’ work (Grade 8):
Week 4: Artist Studies
Based on my experience, artist studies can completely kill classroom energy if they’re taught poorly.
So instead of making students memorize dates and definitions, I focus on visual analysis and idea borrowing.
In this unit, students study artists like M. C. Escher, Ken Wong, and Sophia Martineck to see how artists create visual worlds using repetition, structure, balance, and movement.
Students then create grid-based artist responses inspired by those styles.
This is usually where students begin combining techniques from earlier lessons into their own ideas.
Weeks 5–6: Planning and Building the Final World
The final weeks focus on planning, refinement, and constructing a fully illustrated isometric world.
Students create:
- thumbnail sketches,
- layout drafts,
- color planning,
- structural revisions,
- and finally their completed summative artwork.
You can start to see how the skills they’ve been learning in the past week are being applied.
The drafting process becomes part of the learning instead of just “extra work.”
By the final week, students are usually producing artwork they didn’t think they were capable of making six weeks earlier!
This is my favorite part of teaching – seeing students be surprised by their own skills!
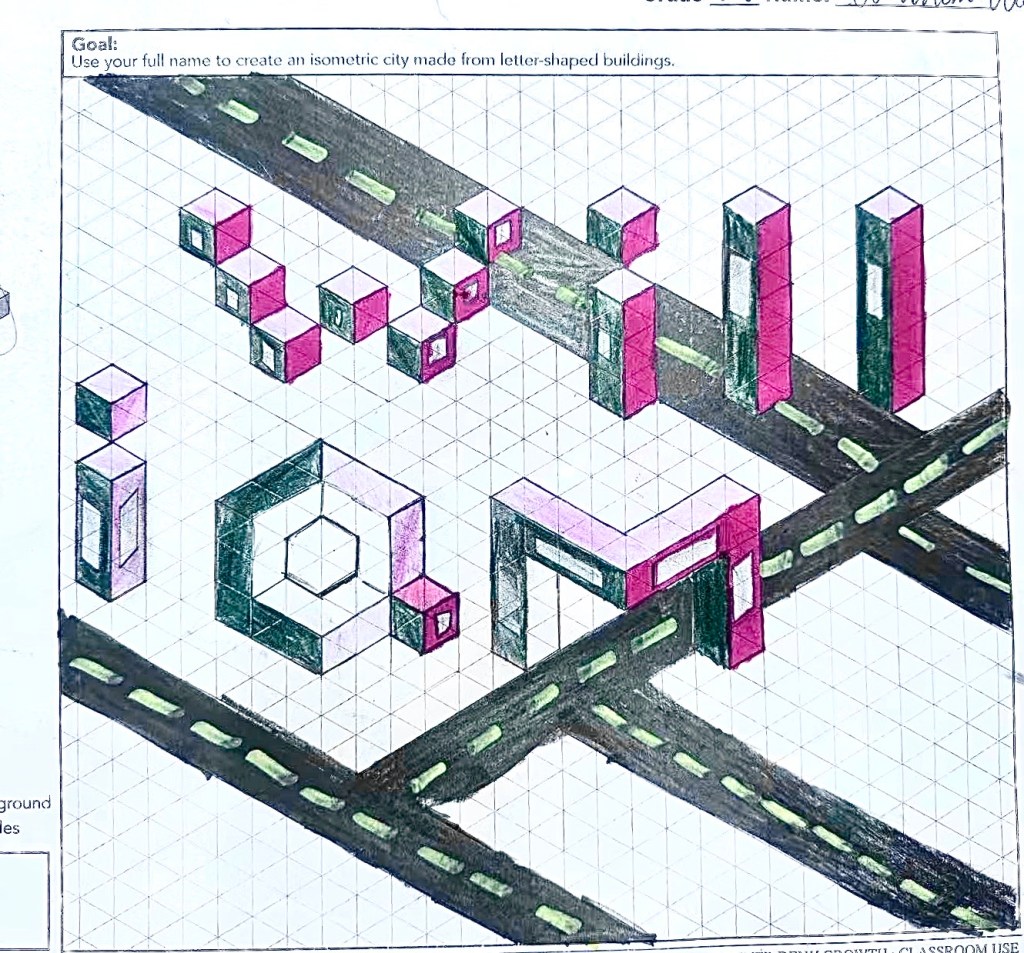
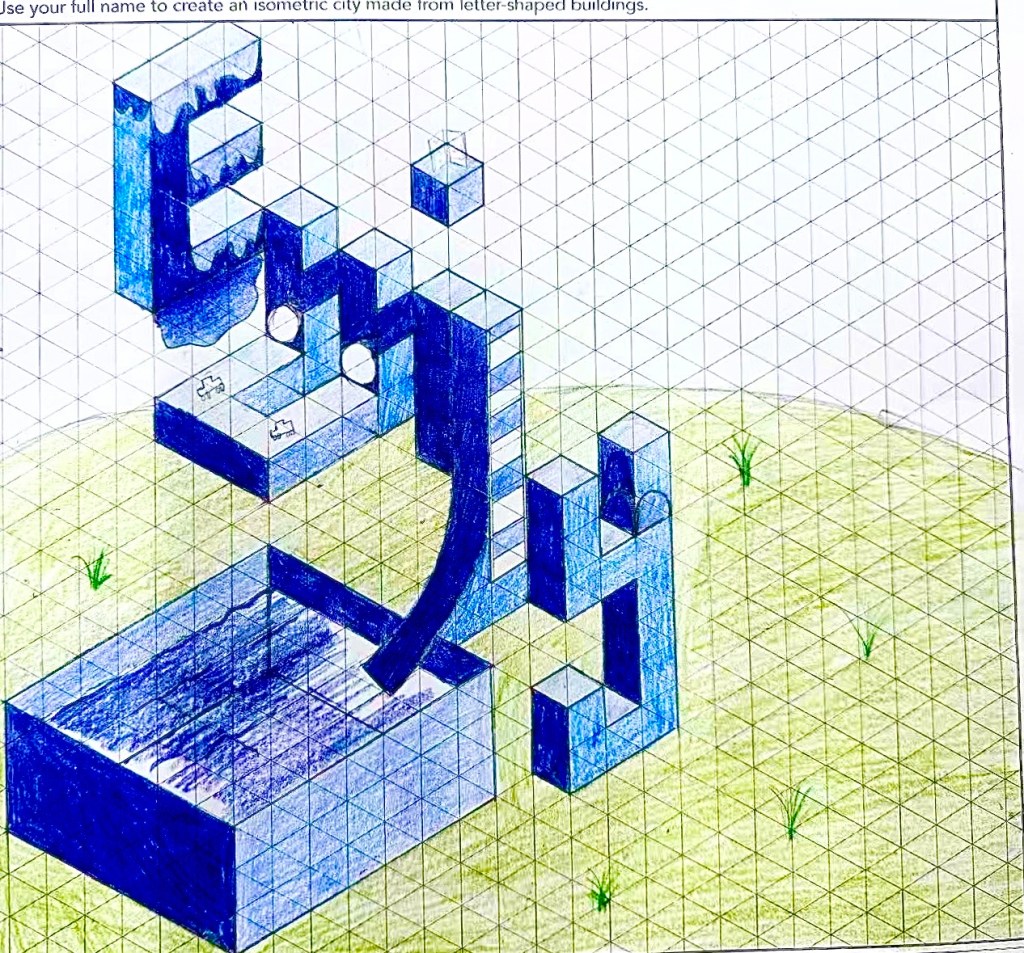
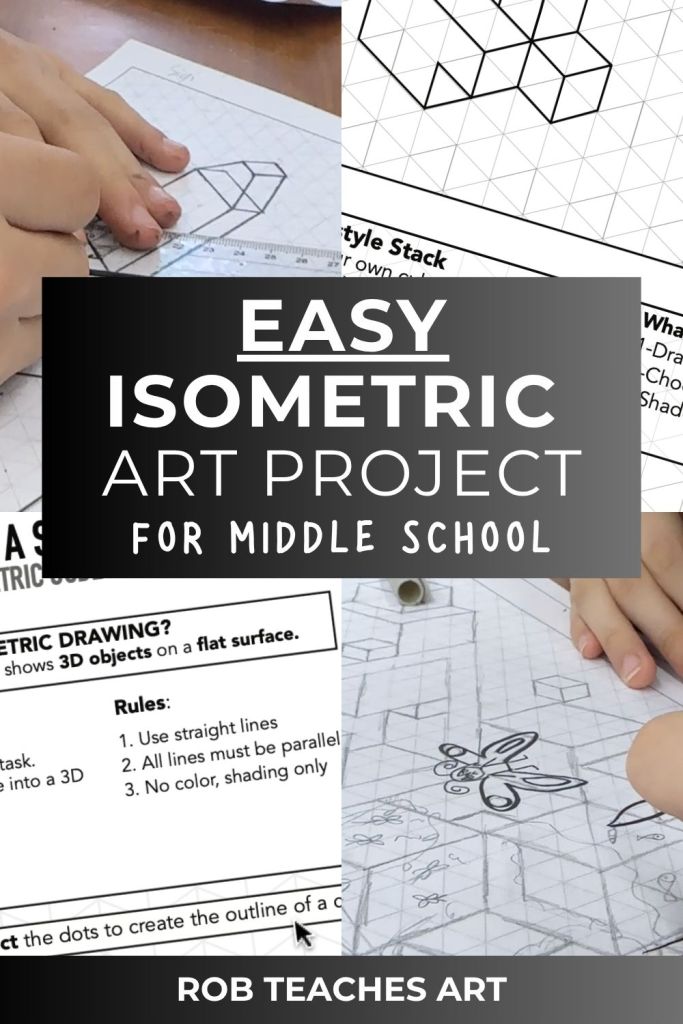
This lesson sequence comes from my full Isometric World Building middle school art unit for Grades 6–8.
Download the full unit here:
If you’ve ever wanted to teach perspective or architectural drawing but worried it would overwhelm your students, isometric drawing is one of the best entry points I’ve found for middle school art.
It feels technical enough to challenge advanced students, but structured enough to support reluctant artists too.
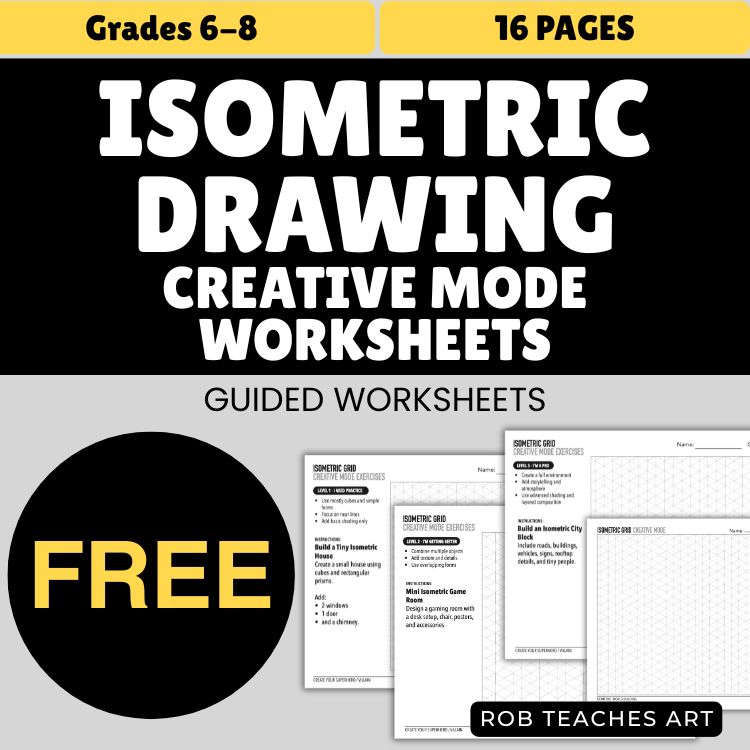
Here is a FREE Printable Isometric Prompts Pack:
Enjoy!


Leave a comment